ld ueblo ngineering enter
Founded 2006 in Tucson, AZ. to explore Human/Robot Interactivity
“Drilling Brains for a New & Better Use of Technology”
Patents Pending
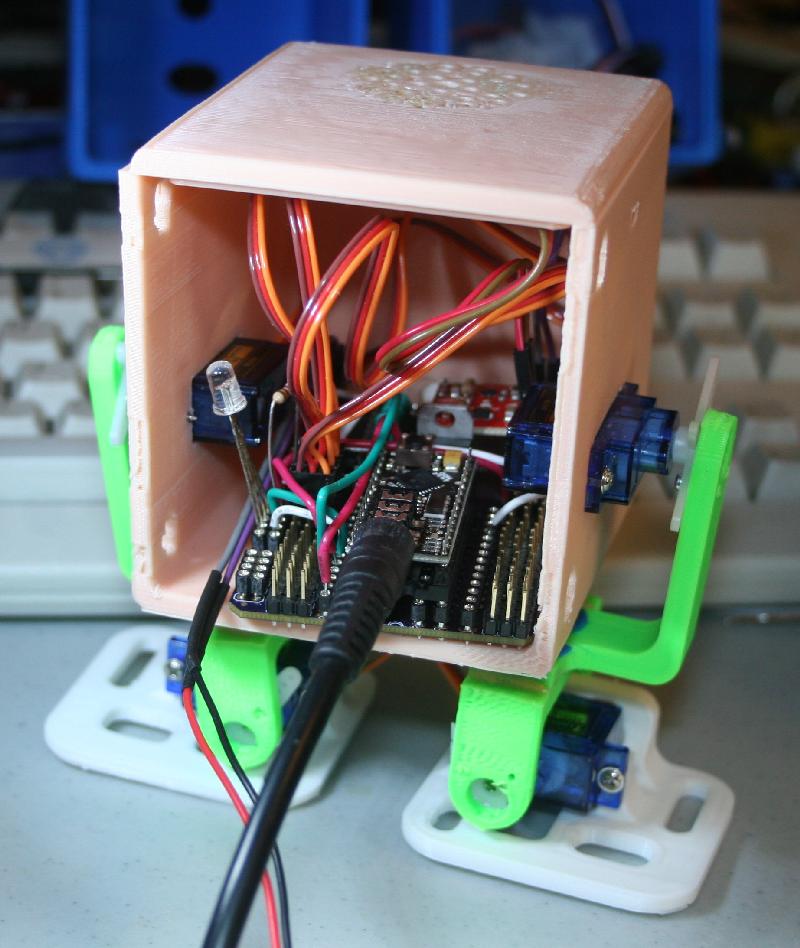
Testing, finalizing/tweaking the program before buttoning up the bot
Turn the RoboGuts™ board around so it can be programmed from the back from now on
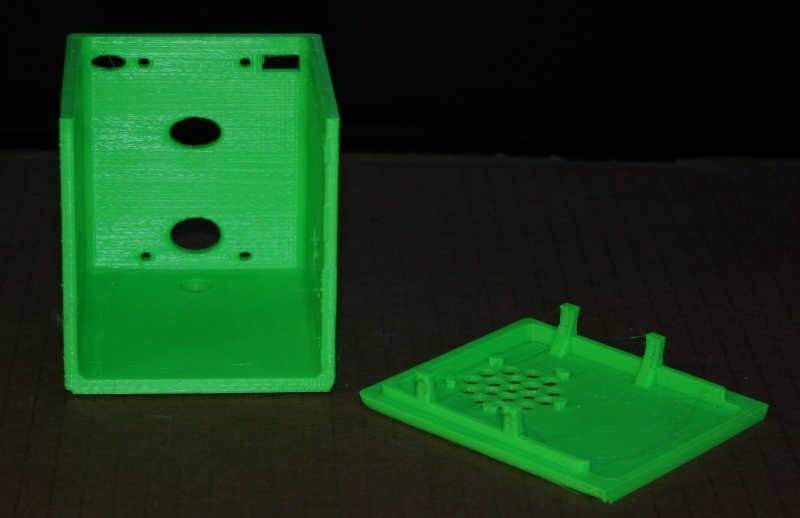
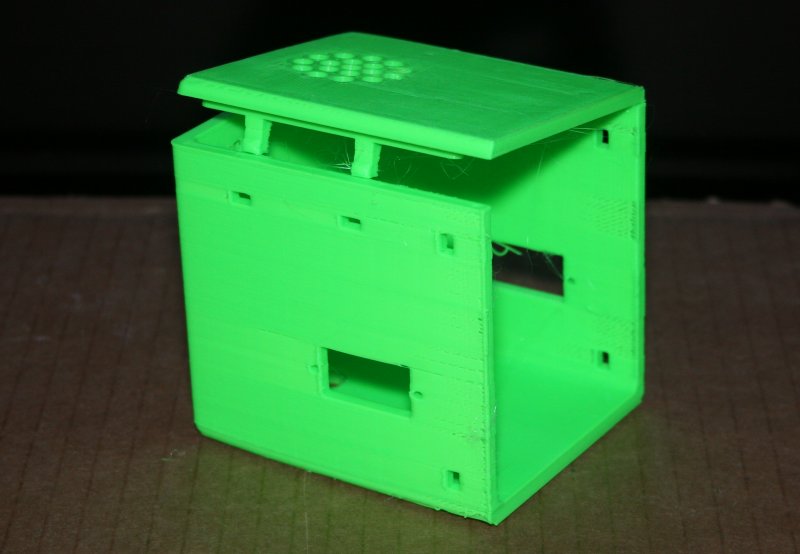
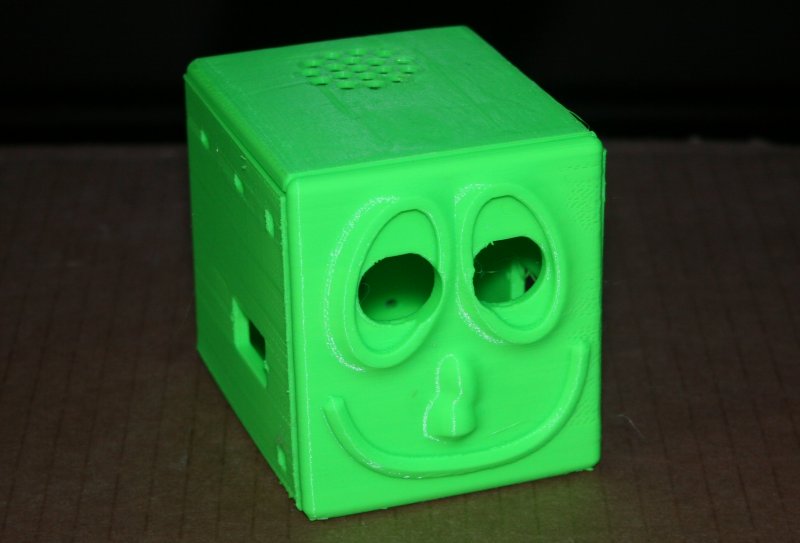
Main Body Box and Top
Insert one side, then gently press the other side down into position
Top should fit nicely but probably not perfectly
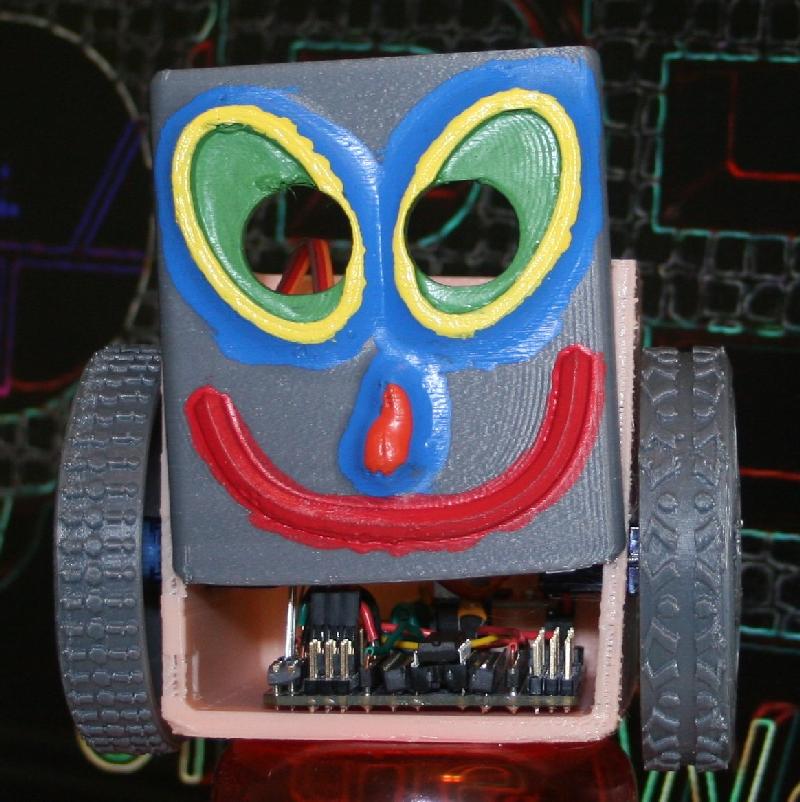
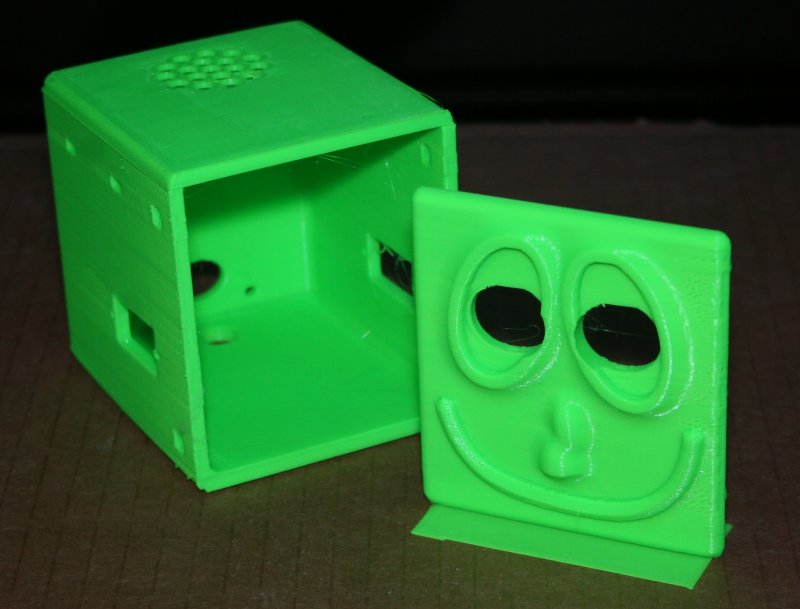
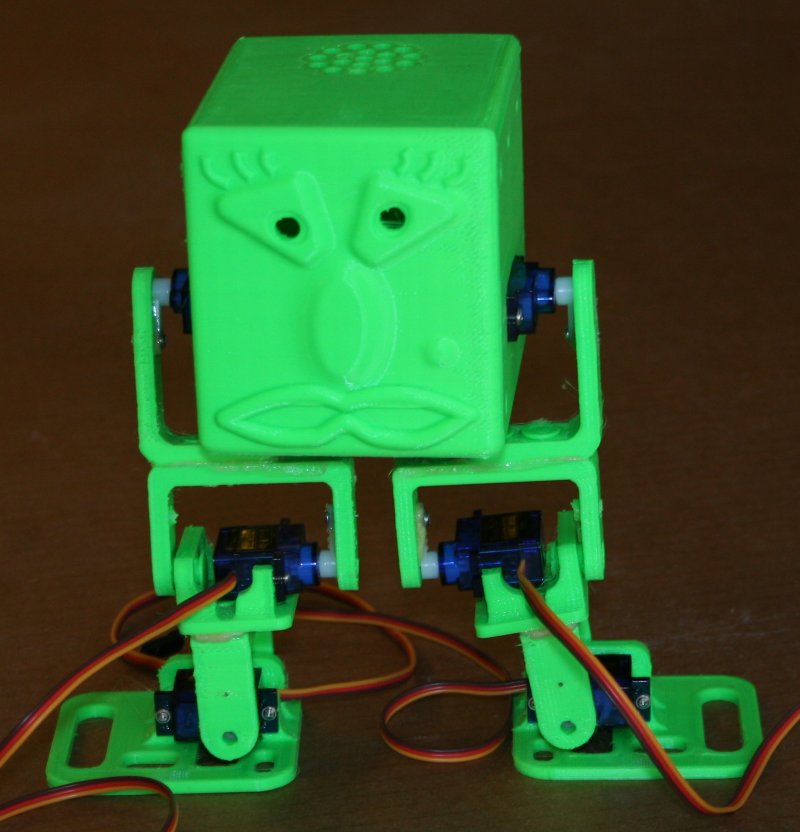
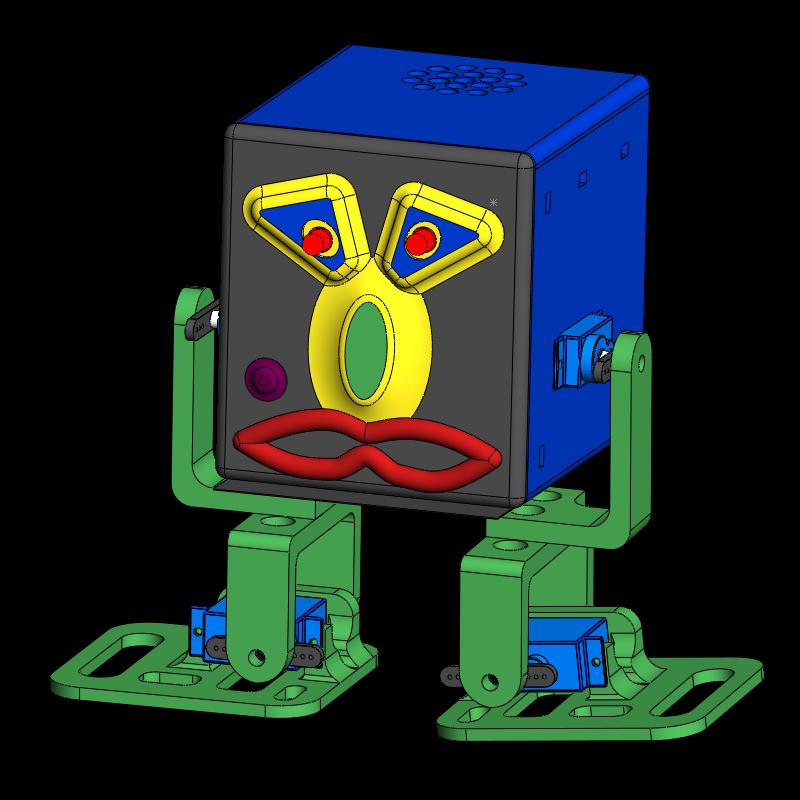
Face for miniFloppyBot
Be sure to gently peel off the printing brace before installation
Again, insert one side, then gently press the other side into postion
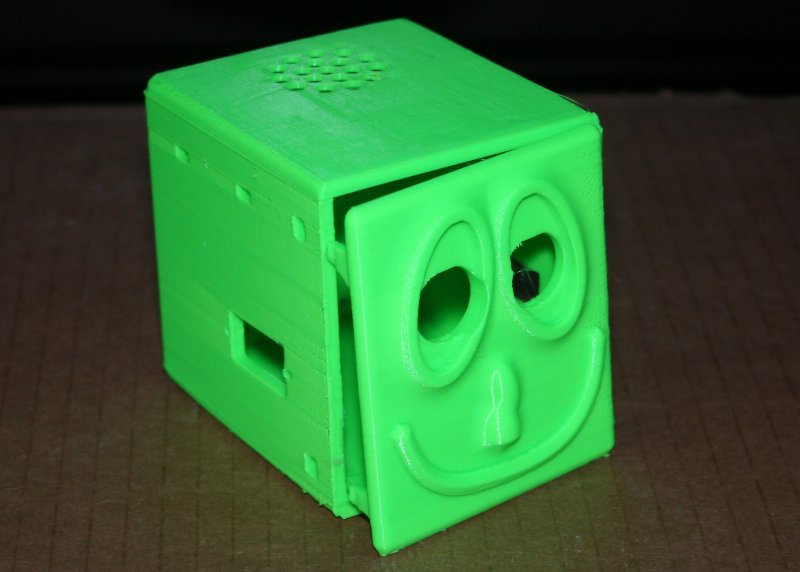
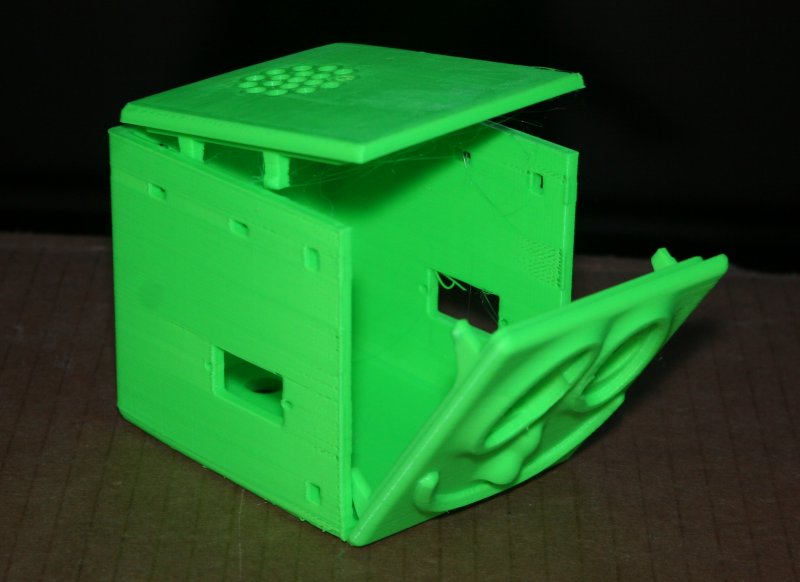
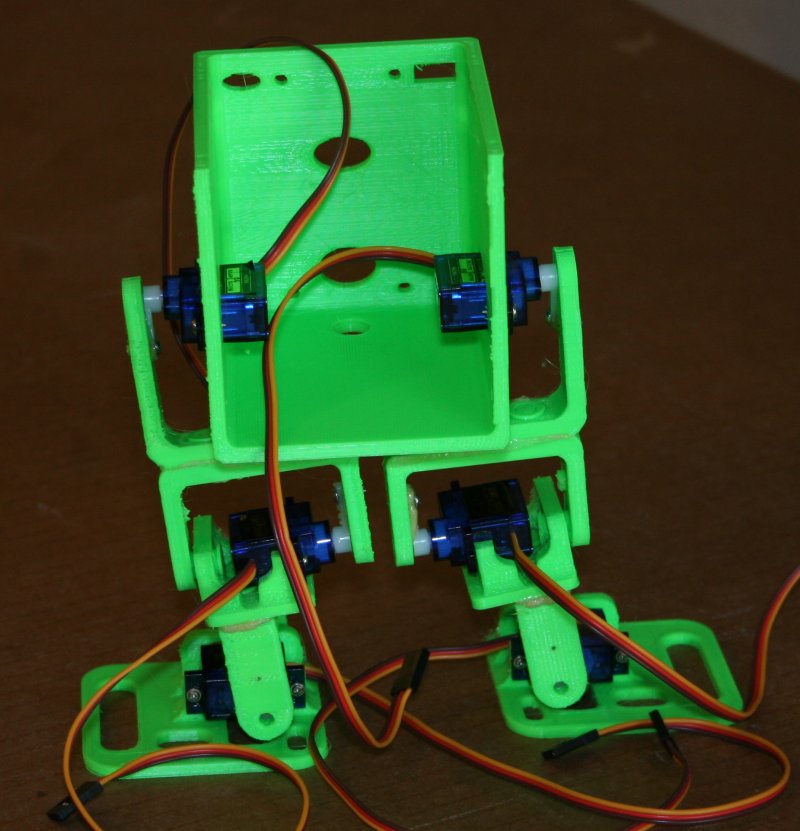
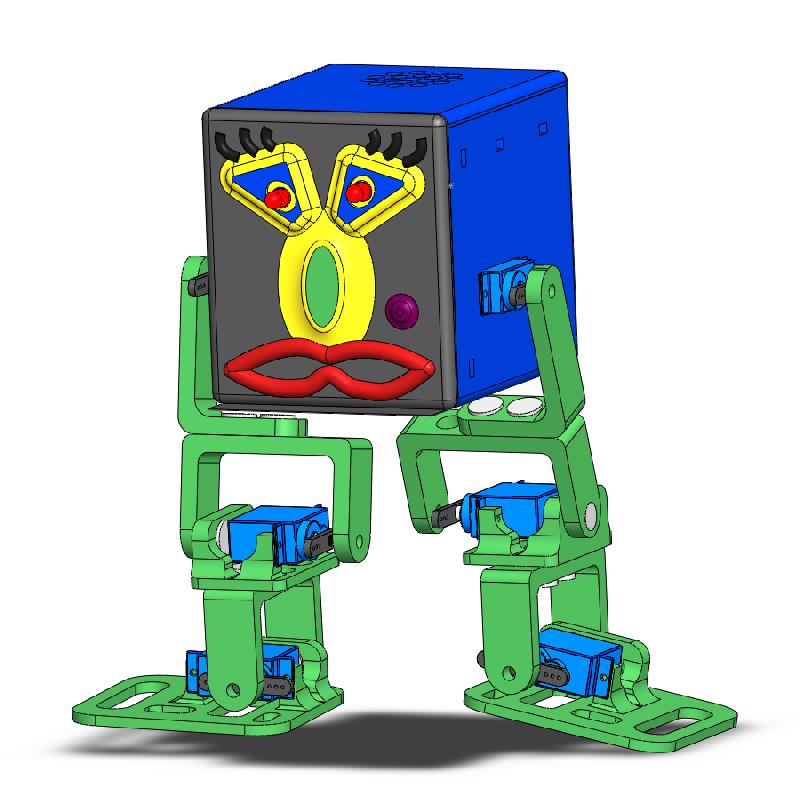
miniFloppyBot Body
Opening is achieved by pulling the top from the front edge and the face from the top edge
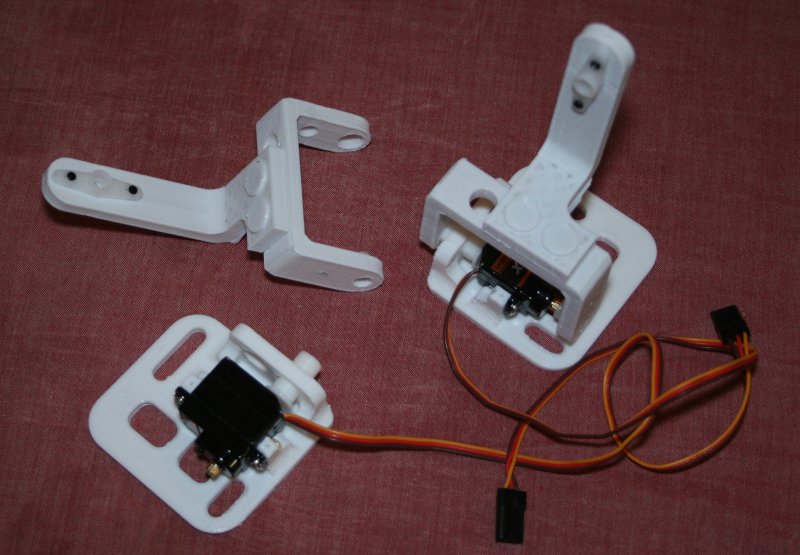
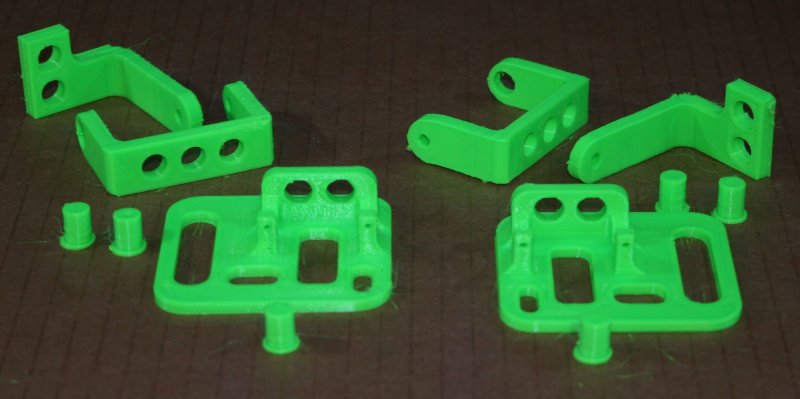
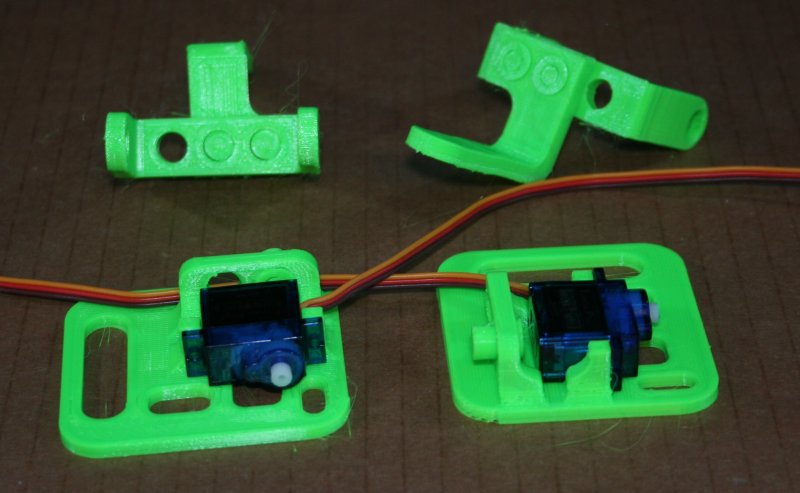
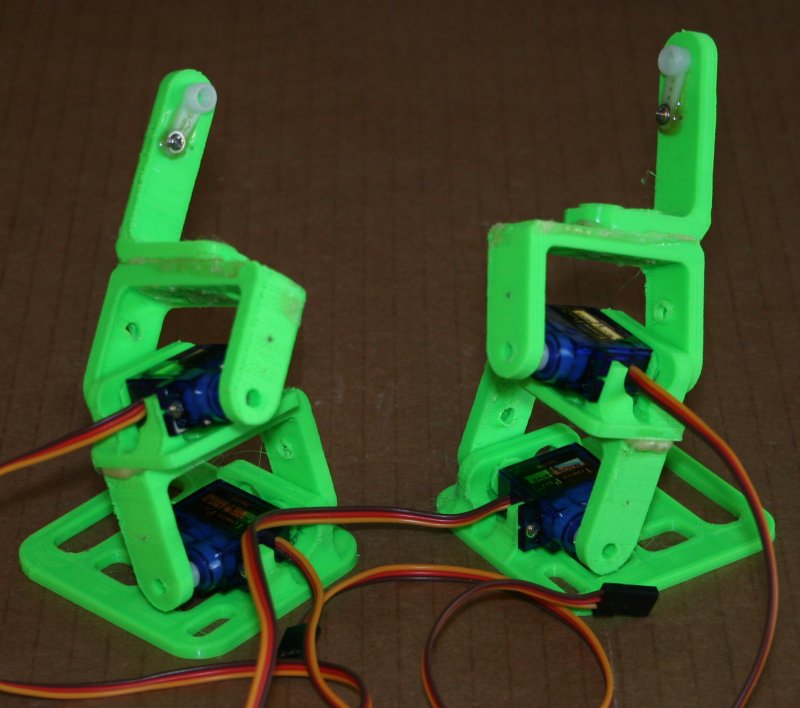
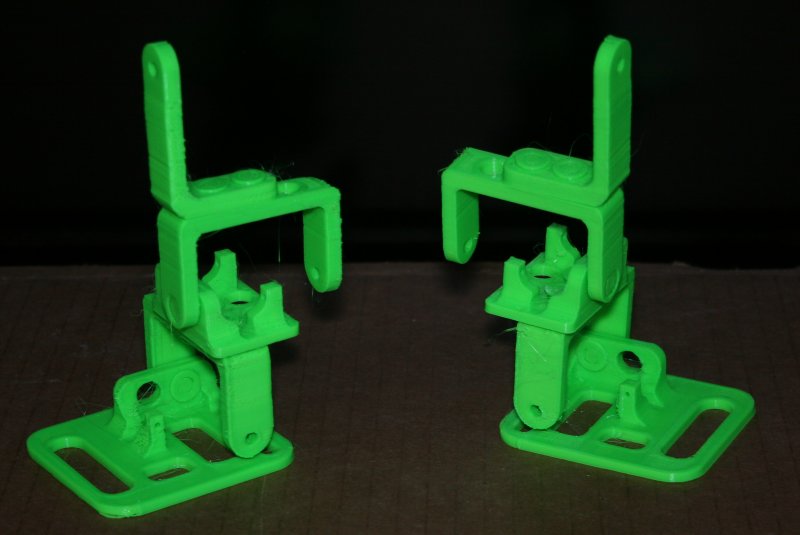
Leg Kit Assembly
Align the "L" bracket so that the entension is to one side of the "U" backet and the leg bone will be centered over the "U" bracket as you can see in the image below
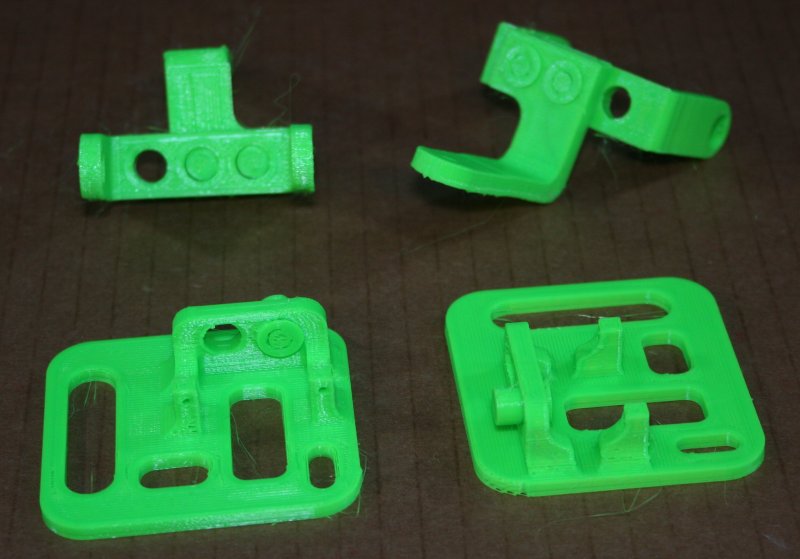
Press the 8mm servo pins through the holes so that the tab side is on the top of the leg angle bracket and on the inside of the foot bracket inline with where the servo axel will be
Here you can see how the servo axel is inline with the servo pin
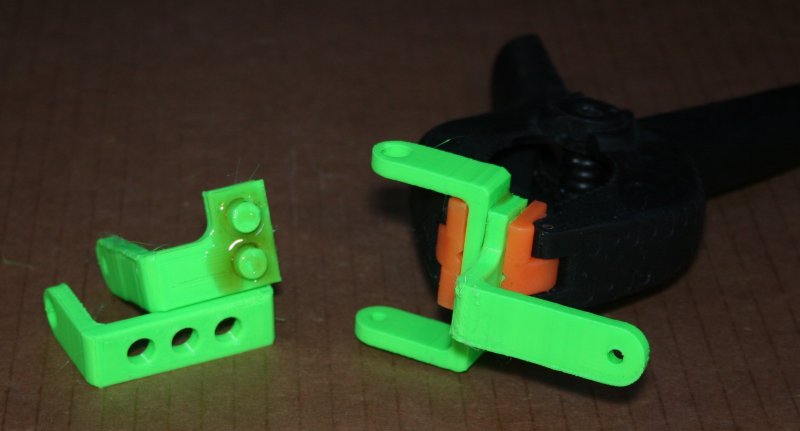
I use Gorilla Glue to glue the pieces together to make one good strong solid leg and I use a plastic spring loaded clamp to hold the pieces together tightly while the glue is curing (~2hrs.)
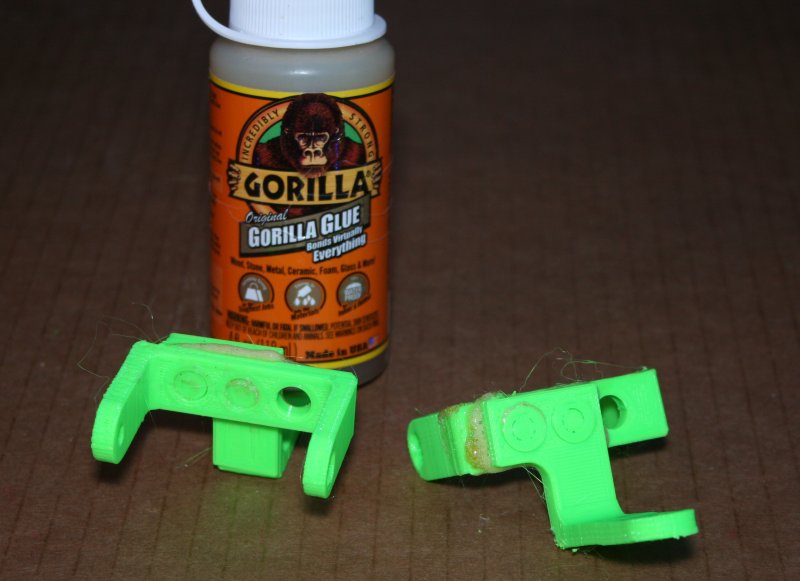
Here you can see the Gorilla Glue I use and the nearly finished legs
Gorilla Glue is NOT a sponsor ... but just another tool in the assembly process
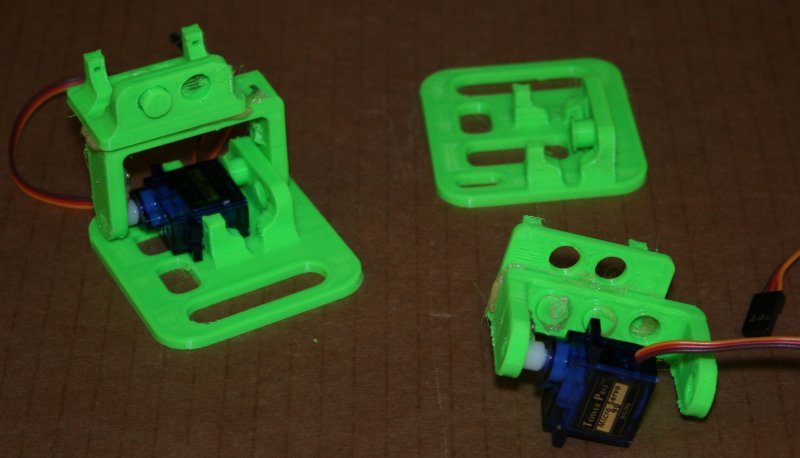
Step ONE: Set the servos to 150ms or Center so when you make the physical assembly the servos are close to holding the robot up straight making program changes easier.
Be sure the servo horn guide pins are flush with the back sides of the servo holders/feet and have the centered servo already attached to the servo horn so it more easily slips down into position on the foot/servo holder.
After everything is assembled and tested you can then press the servo arm guide pins into the backs of the servo arms for better steadying of servo movements.
Next step is to paint the face and edges/trim to give the miniFloppyBiPedalBot color and character.
Final step is to install and do final program tweaking of the RoboGuts™ circut board, giving your bot a name, LEDs, battery etc...
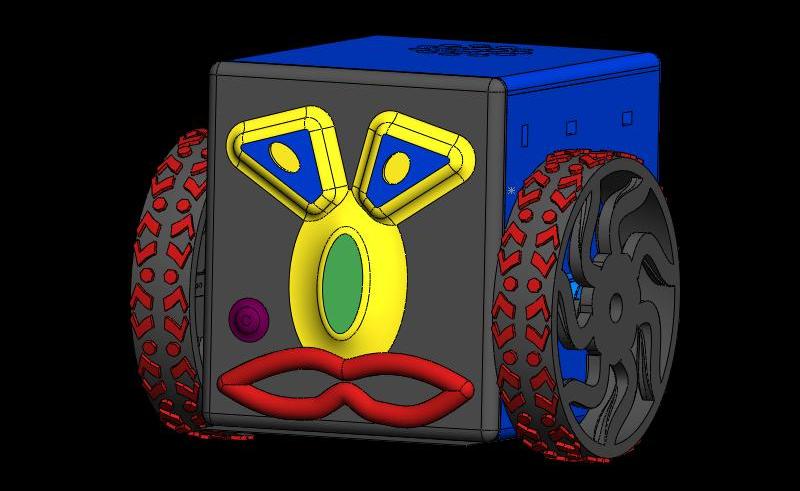
There are many configurations you can use for your miniFloppyBot
I am a RoboToons Robot Theater character ... one of the miniFloppyBot dancers!