Give a child a toy and they're happy for an hour.
Teach a child how to make their own toys, and they're happy for life!
All my 3D CAD Model .STL files are on PinShape.com
Remember when you were building a plastic model and thought about something or things you wanted to do to that model to make it better, or customize it as your own? That is the power you attain from learning 3D CAD modeling and 3D Printing.
IF you have a RoboGuts™ circuit board based project that is accepted to the X-Projects we will give you a FREE RoboGuts™ circuit board
Your project must be built with a RoboGuts™ circuit board
Your project must include all programming code and be structured and documented
IF your project includes any 3D printed components the .STL files must be supplied with the submission
IF your project includes any other components you will have to supply a list of all components including html links to purchase sources
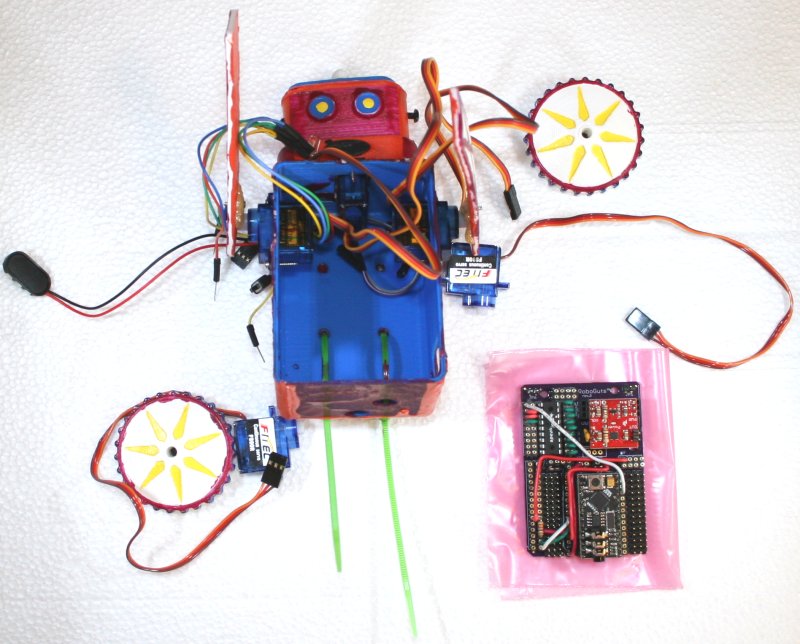
X-Project-00 = Singing 'n Dancing miniFloppyBot
Click on the picture above to see the programming code
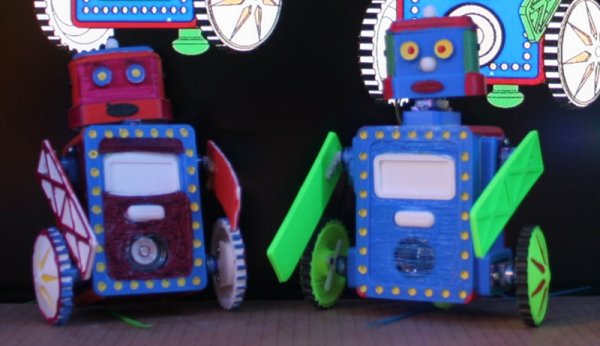
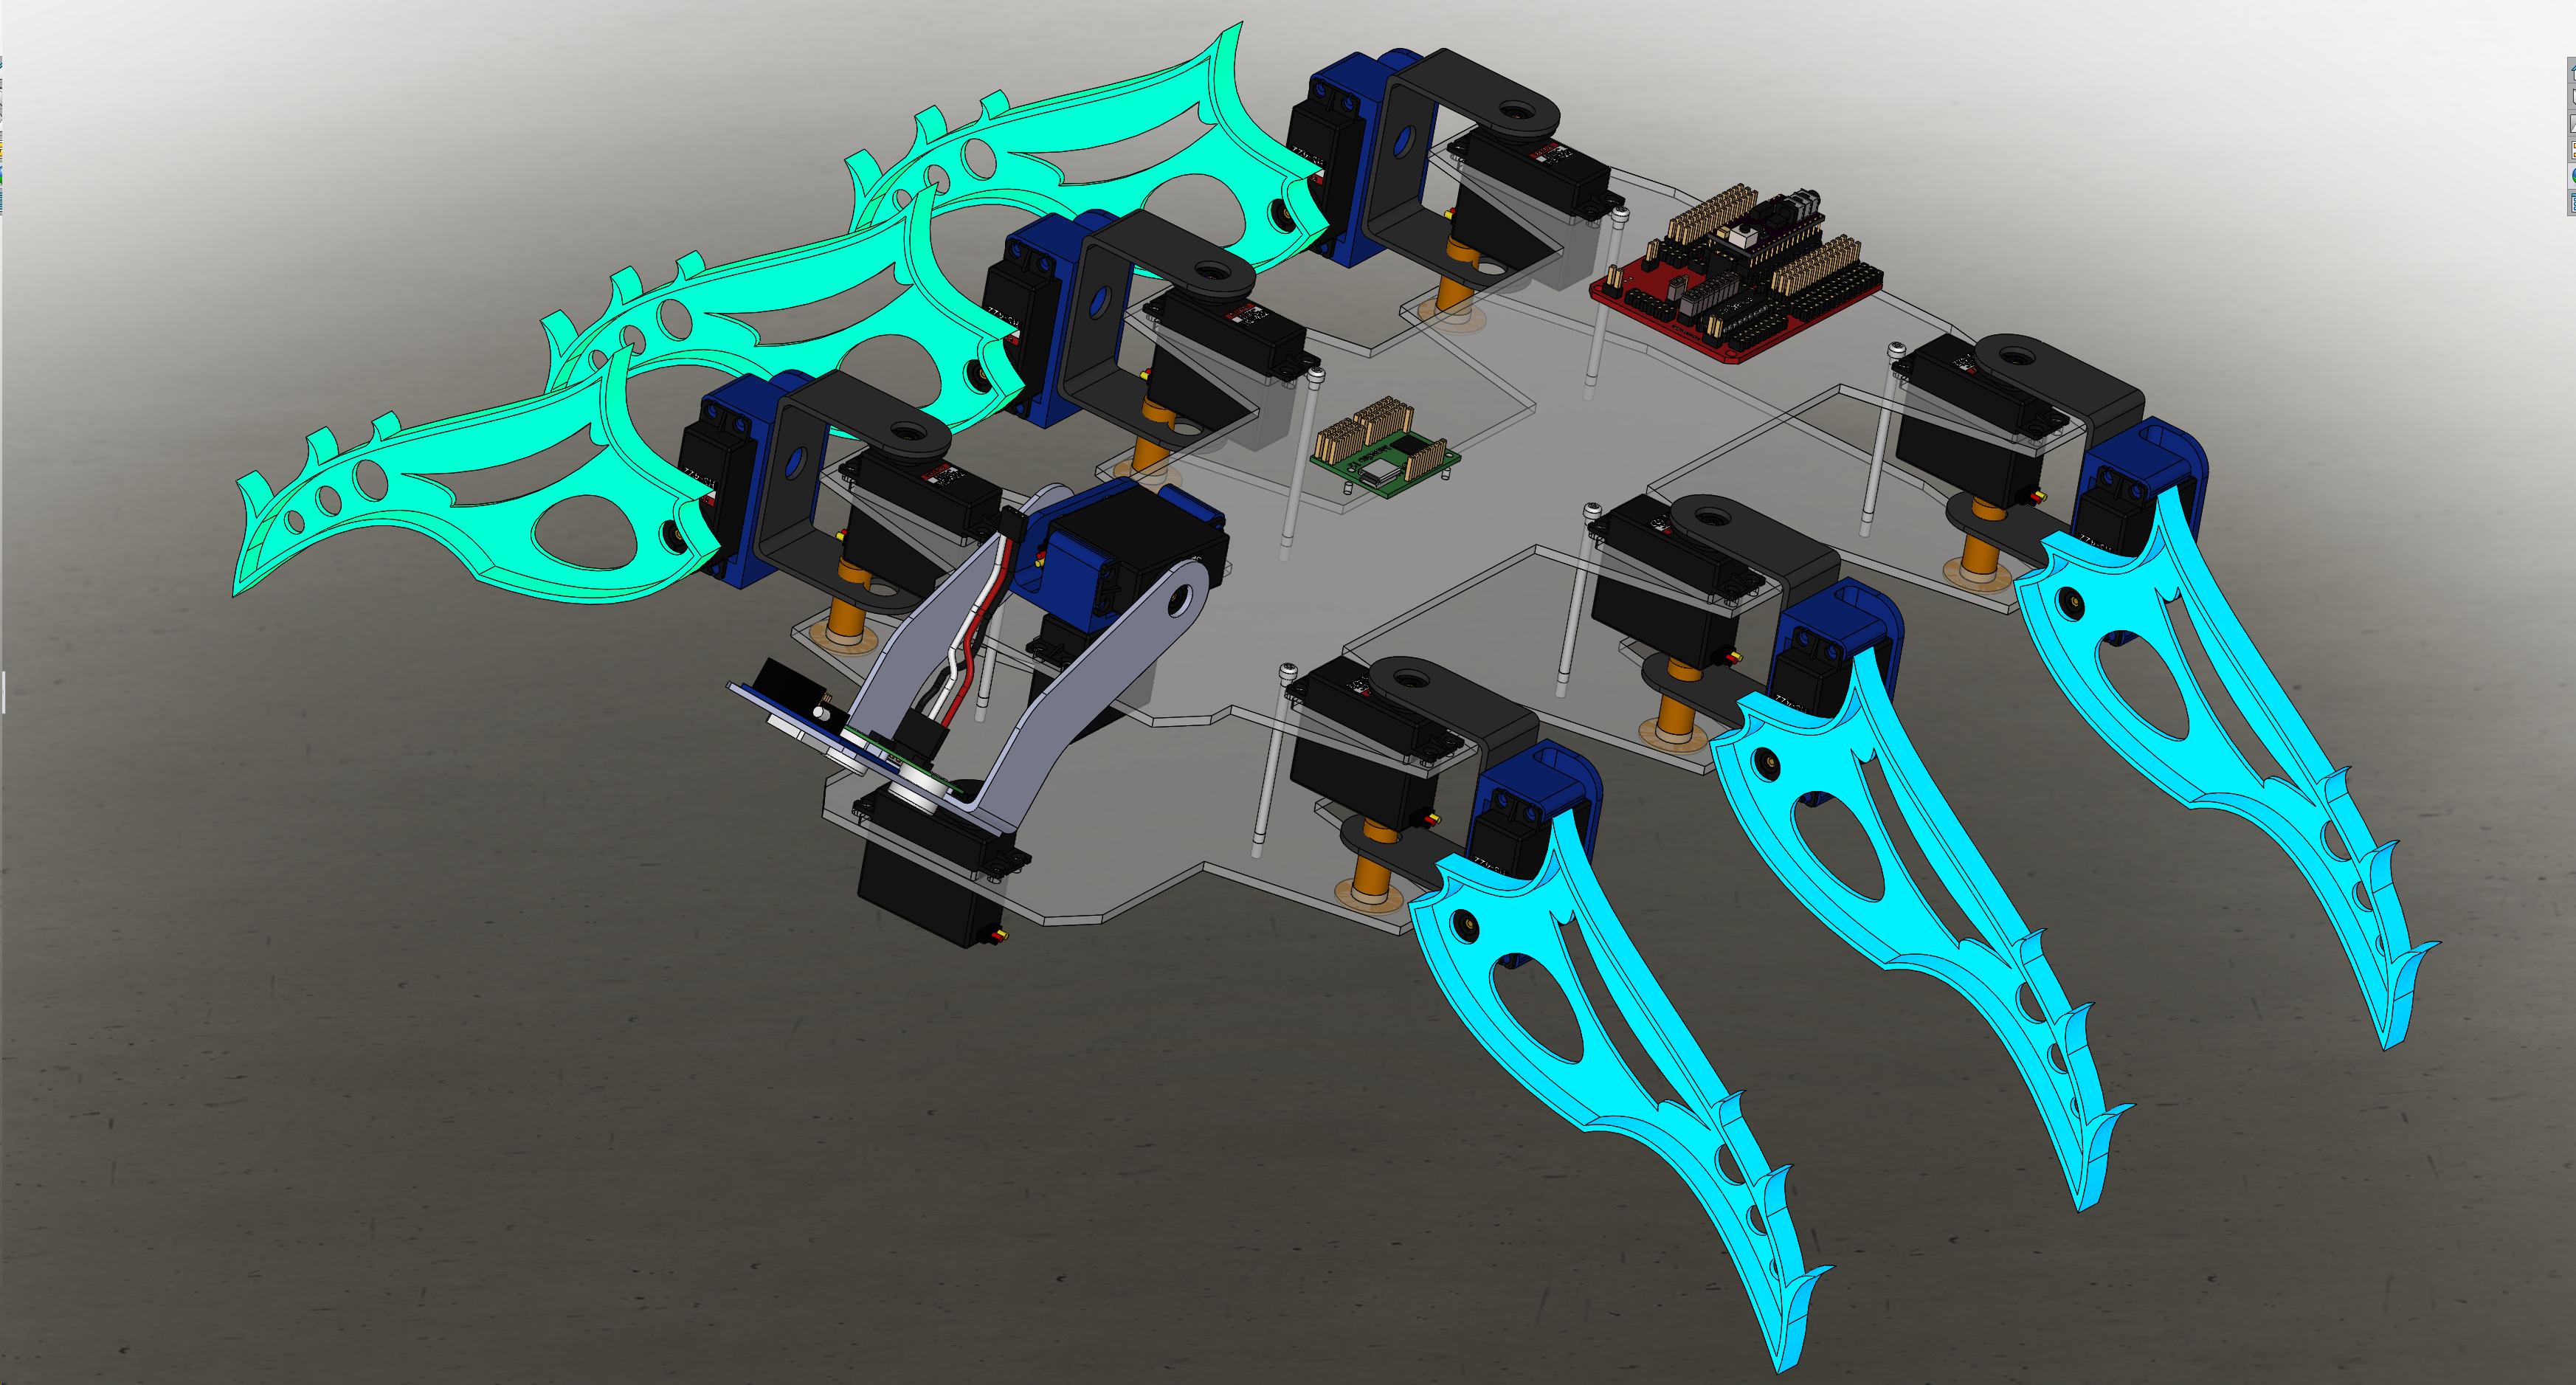
Body box, 2 Wheels, Top, Skid and Face ... the whole kit can be 3D printed on most printers in one day.
Click on the Image to Reveal the Programming Code
Body box, 2 Wheels, Top, Skid and Face ... the whole kit can be 3D printed on most printers in one day.
Only 1 rubber band on 1 wheel for traction is why the bot
falters a little in the normal programmed operation,
but it is easily seen how the program works in the demo video.
ScardyBot ... Turns to Run Away
increase the turn radius of X0 closer to 180� to run away
ScardyBot ... Turns to Run Away
increase the turn radius of X0 closer to 180� to run away
Flip the direction and now you have a Psuedo SumoBot that goes after whatever is close!
Finds something in range and tries to stick to it like a poopie on your shoe!
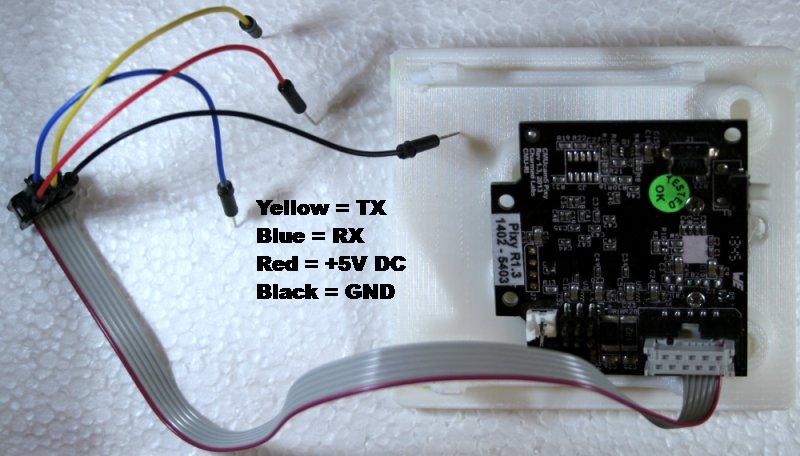
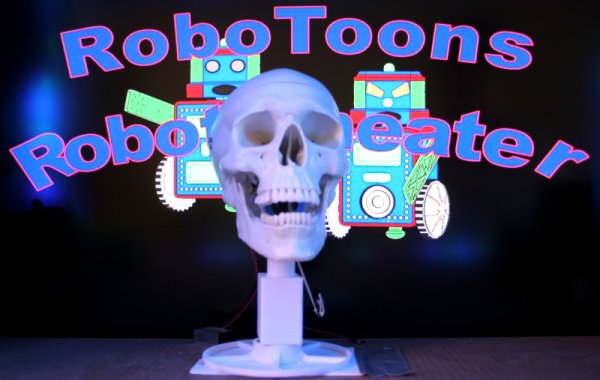
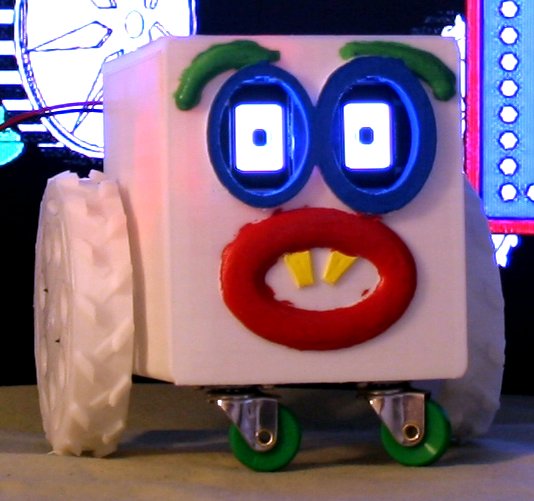
The PIXYbot is a miniFloppyBot with a RoboGuts™ and a PIXY CMUcam5.
The bot sees a color, displays the color in its body 3-color LED and speaks about the color it sees.
. . . . . . . . . .
The one caveat to this is you need to have good lighting and bright colors for this sensor to see and
. . . . . . . . . .
recognize colors correctly. Color lights and bacck-lit objects do not work with the PIXY CMUcam5.
Click on the Image to Reveal the Programming Code
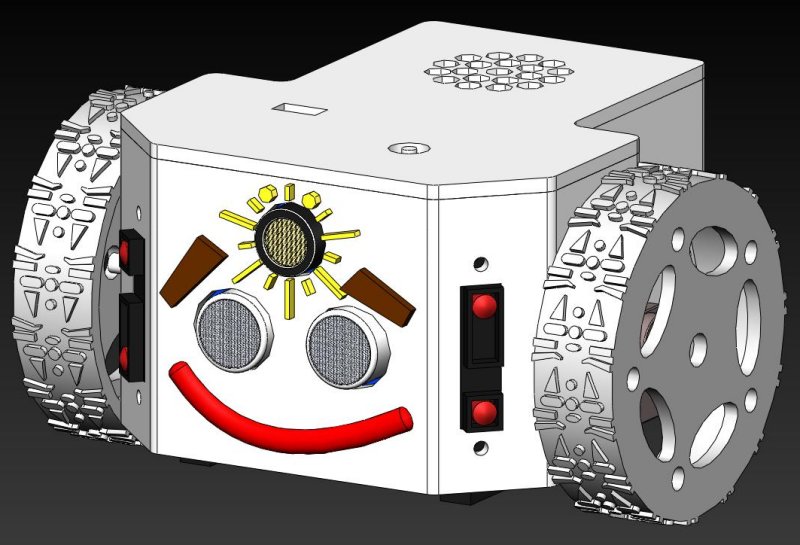
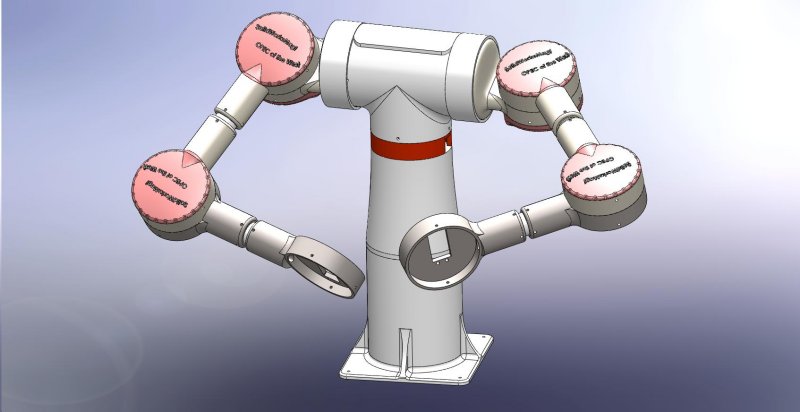
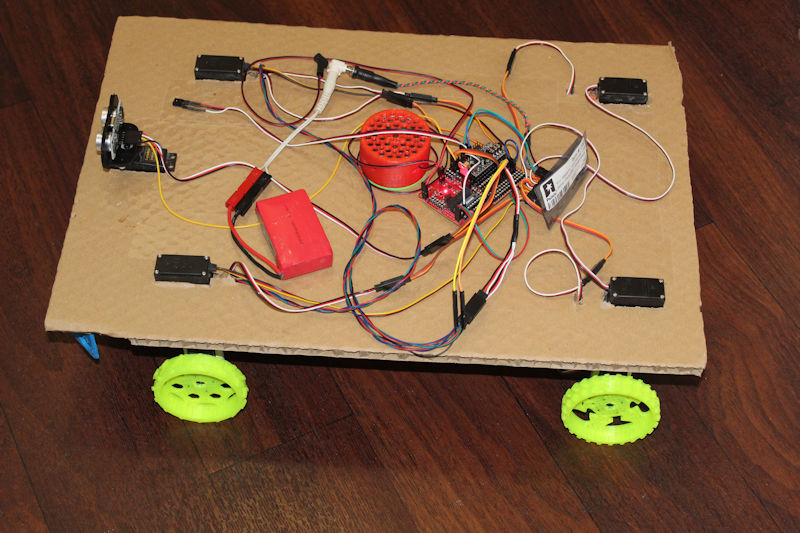
miniFloppyGamerBot
Sensors are;
1x PIXY CMUcam5
1x Parallax PING or HC-SR04, or SR-05 ... almost any of the popular UltraSonics on the market
3x SHARP GP2D12 IR Range Finders
2x Sharp GP2Y0D805Z0F IR Range Finders
5x QTR-LRC-1A Reflectance Sensors
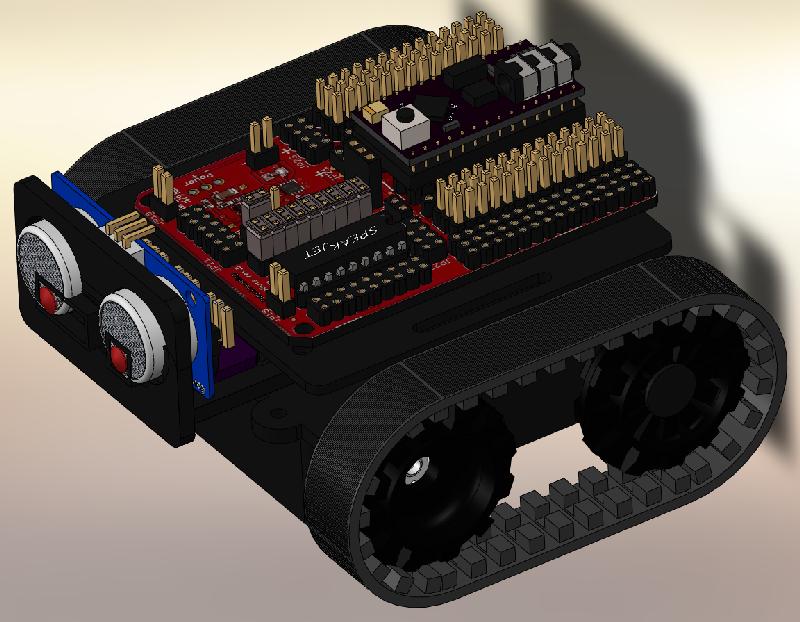
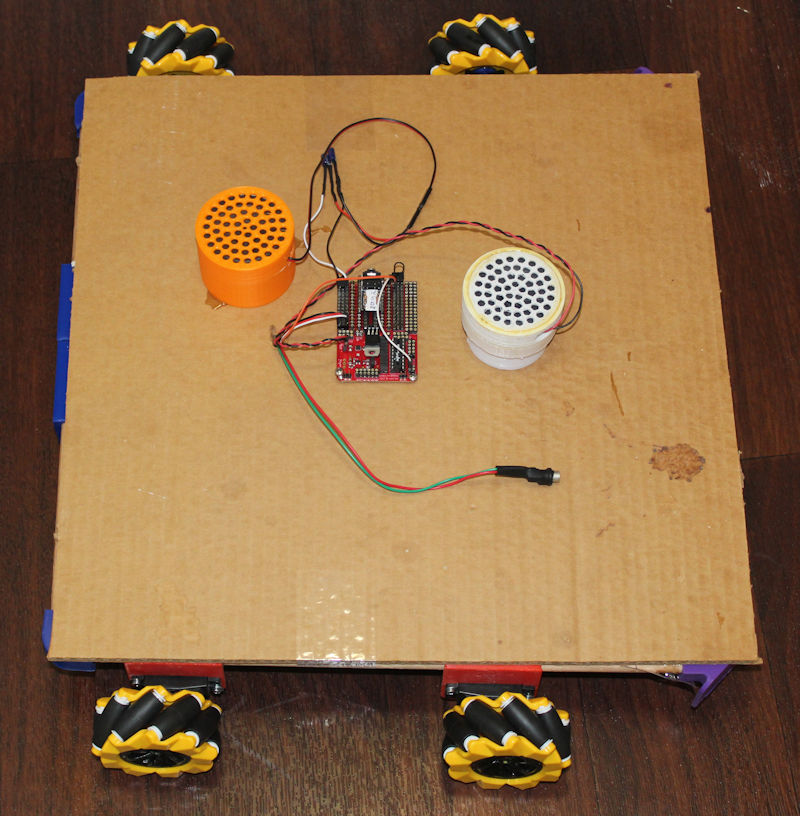
X-Project-10 = ZUMO chassis precursor to the Self-Driving Car
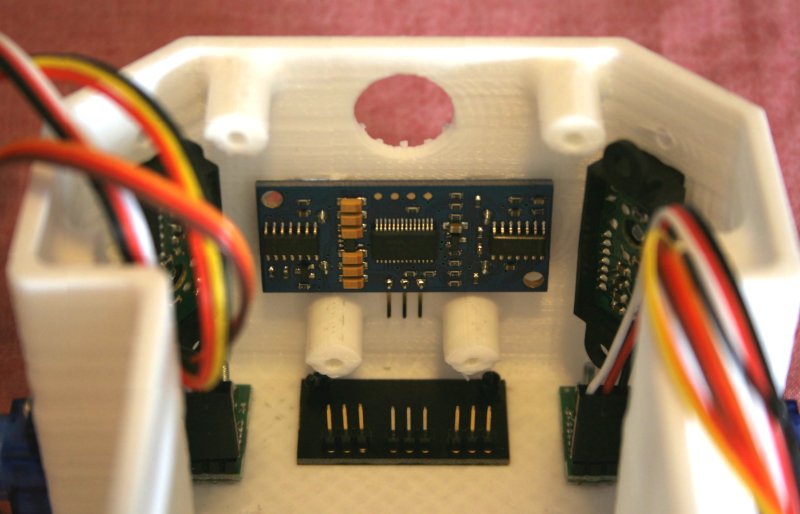
Starting with a ZUMO chassis I added a 3D printable platform for the RoboGuts™ circuit board and just below is the space for wiring and a TB6612FNG d.c. motor driver board.
You can see that you could add an UltraSonic sensor or IR Range finder to the front for collision avoidance.
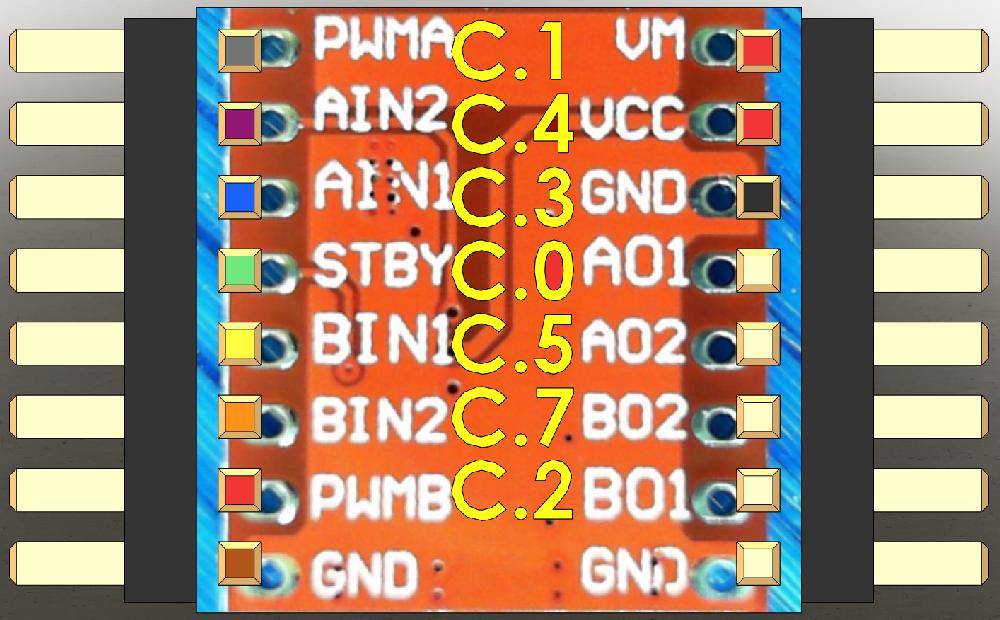
The TB6612FNG d.c. motor driver with the PICAXE PIN definitions for easy connection.
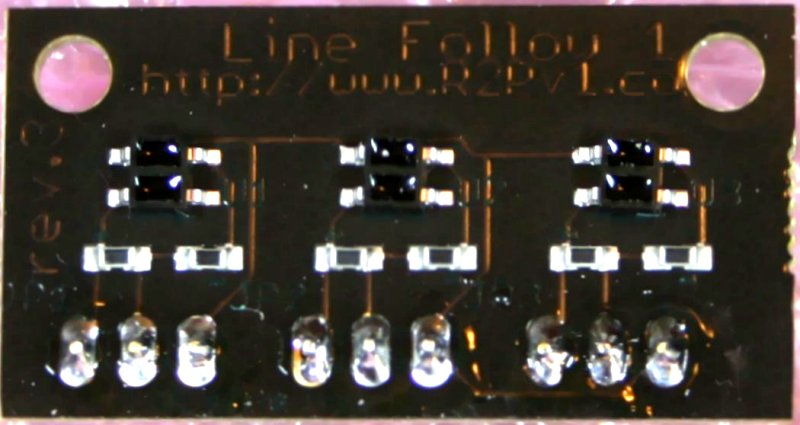
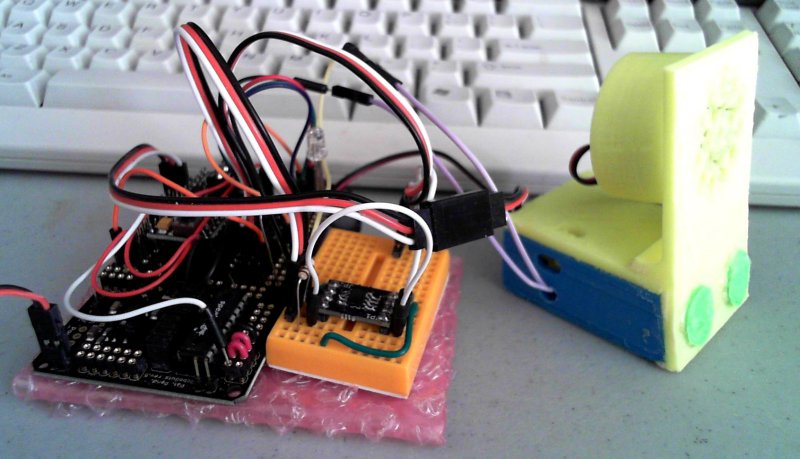
Still under development. The idea is to add a PING sensor to the front and rear, a Line Following Sensor Board under the chassis and teach the car to follow lines, then maybe even parallel park.
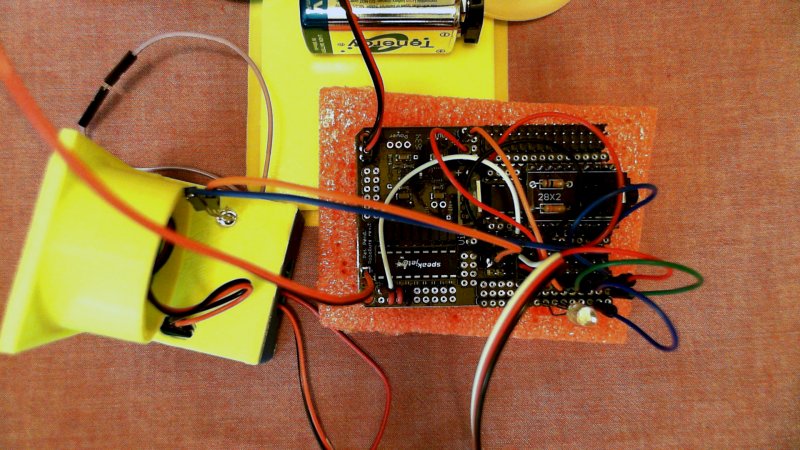
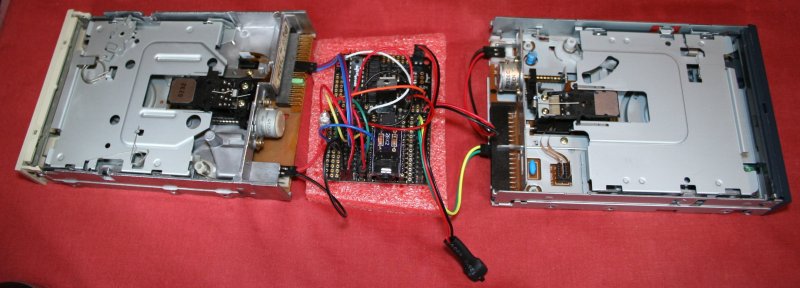
So many copy cats using canned Arduino software and hardware to play music on an old Floppy Disk Drive. I decided to unveil the simplicity of this so PICAXE users an start making songs ... maybe expand on this project since a 28X2 could probably manage ten FDDs. I plan to add this to the list of "X-Projects" at the end of the FREE beginner lessons on my website ...
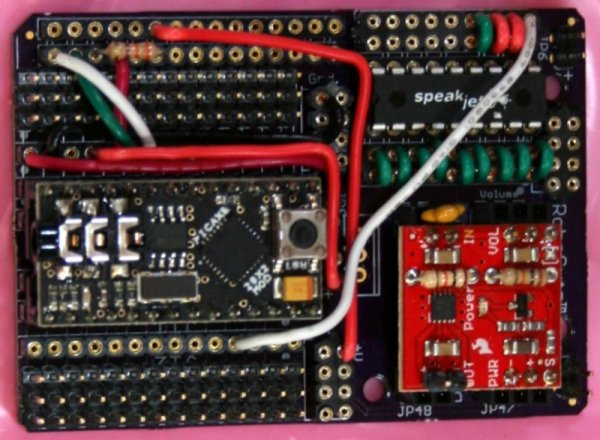
X-Project-12 = PICAXE + DS1804 + Radio Shack Theremin
Almost Musical!
Sirens are Not Quite Musical Radio Shack Theremin
The first several experiments dimming a LED to control the Radio Shack Theremin just didn't work as well as I thought, but I was able to get some usable sounds that were fun.